
amicaassist@gmail.com
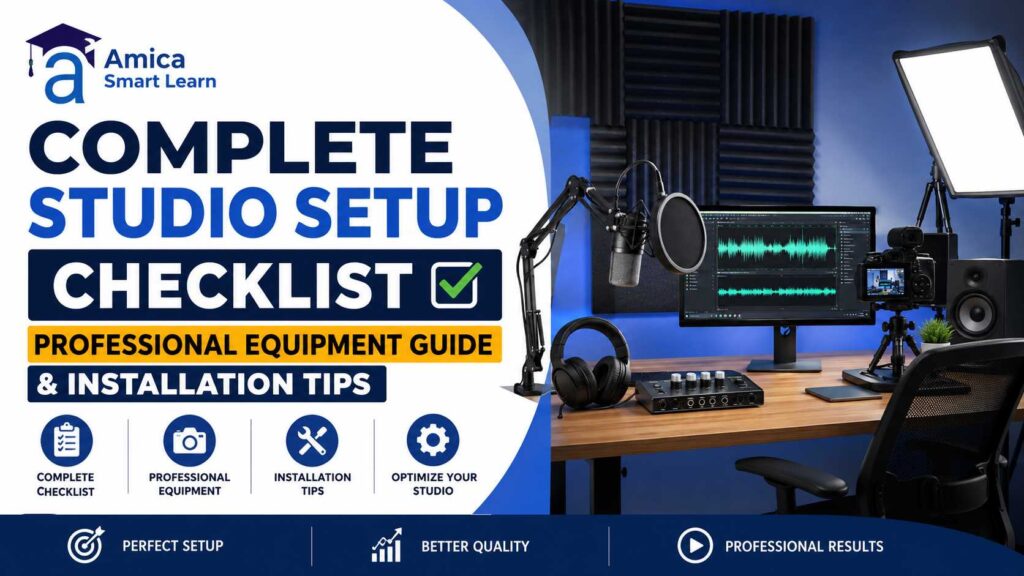
Are you planning to build your own content studio but don’t know where to start? You are not alone. Many teachers, YouTubers, corporate trainers, and podcasters ask the same question every day — what equipment do I actually need, and how do I set it up the right way? This blog gives you a Complete Studio Setup Checklist in the simplest words possible, so you can plan your studio without any confusion.
At Amica Smart Learn, we meet people every week who are excited to start recording but feel lost among cameras, mics, lights, and cables. This guide answers the real questions people search for, in plain and easy language, so by the end you will know exactly what to buy, why you need it, and how to install it correctly.
A studio setup checklist is simply a list of all the equipment and steps needed to turn any room into a working studio for recording, teaching, or streaming. Think of it like a shopping and planning list — it tells you what gear to buy, in what order to set it up, and what mistakes to avoid.
Why does this matter? Because most people buy equipment randomly. They buy a camera first, then a mic, then realize their room echoes, then buy lights that don’t match their space. This wastes money and time. A Complete Studio Setup Checklist helps you plan everything in advance — camera, audio, lighting, furniture, cables, and software — so your studio works smoothly from day one.
This question comes up a lot, so let’s answer it clearly. You need a proper checklist if you are:
No matter the purpose, the basic building blocks of a studio stay the same. Only the scale and budget change.
This is the most searched question, so let’s break it into simple categories.
Your camera is the eye of your studio. For most setups, a good HD or 4K camera with pan-tilt-zoom (PTZ) function works best because it lets you adjust angles without moving the whole camera. If your budget is tight, a quality webcam can also do the job for smaller rooms. Look for auto-focus, low-light performance, and multiple connection options like HDMI or USB.
Good audio is often more important than video quality. Viewers forgive average visuals, but bad sound makes people click away fast. A wireless collar mic or a directional microphone works well for teaching and presentations. If you record group discussions or interviews, consider a multi-input audio mixer so every voice is captured clearly.
One thing many people don’t know — wireless microphones in India operate on specific de-licensed frequency bands set by the government. Before buying a wireless mic system, it helps to check the equipment and frequency approval guidelines published by the Department of Telecommunications, Government of India, so your equipment stays fully compliant and interference-free.
Lighting decides how professional your video looks. A simple ring light or LED panel light works for solo presenters, while a three-point lighting setup (key light, fill light, and back light) gives a polished, studio-like finish for bigger productions. Soft, even lighting reduces shadows and makes your face or board clearly visible on camera.
If your studio is used for teaching or presentations, an interactive display or digital board becomes the centerpiece. A touch-enabled panel allows you to write, annotate, and share content live, which keeps your audience engaged. This also supports the country’s push toward digital classrooms, an initiative you can read more about on the Ministry of Education’s official website.
If you plan to combine multiple camera angles or stream live, a video mixer helps you switch between sources smoothly. This tool is common in professional broadcasts and is now affordable enough for small studios too.
Don’t skip this part of your Complete Studio Setup Checklist. Stable stands and mounts for cameras, boards, and lights keep your setup safe and consistent. Adjustable desks and chairs also matter if you spend long hours recording.
This is the most overlooked item on any studio checklist. Poor quality cables cause signal loss, flickering video, and audio dropouts. Always keep a few backup HDMI and USB cables, along with a good power extension board with surge protection.
Before buying equipment, look at your room itself. Ask yourself these questions:
A small amount of acoustic treatment, like foam panels or thick curtains, reduces echo significantly. You don’t need a fully soundproof room, but reducing echo makes a big difference in audio quality.
Once you have your equipment ready, installation matters just as much as the gear itself. Here are simple, practical tips:
This depends entirely on your goals. A simple single-camera home setup with a webcam, ring light, and basic mic can be built on a modest budget. A school smart classroom or a corporate training studio with an interactive panel, PTZ camera, wireless mic, and video mixer will naturally cost more because it includes higher-end, durable equipment built for daily use.
The smart approach is to start with the essentials — camera, mic, and lighting — and expand later with a display panel or mixer as your needs grow.
Many first-time studio owners make similar mistakes. Here are the common ones to avoid:
Avoiding these mistakes early saves both money and frustration down the line.
Once your studio is ready, regular maintenance keeps it running smoothly. Clean camera lenses gently with a microfiber cloth, check cable connections monthly, and update your display panel’s software regularly. Store microphones in a dry place to avoid moisture damage, and switch off equipment properly instead of just cutting the power supply.
You might wonder if you really need expert help or if you can do it all yourself. The truth is, DIY setups work fine for very small, casual use. But if you’re building a studio for a school, coaching center, corporate office, or serious content creation, professional guidance saves you from costly trial and error.
This is exactly where Amica Smart Learn comes in. As a team that works closely with educational institutions, corporate offices, and individual creators, we help you choose the right combination of cameras, displays, speakers, lighting, and audio gear based on your room size, budget, and purpose — not just what looks good on paper. Good planning today means fewer equipment upgrades and repairs tomorrow.
Setting up a studio doesn’t have to be confusing once you break it down step by step. This Complete Studio Setup Checklist covers everything from camera and audio to lighting, display, and cable management, along with practical installation tips that actually work in real rooms, not just in theory.
Start with the basics, test as you go, and expand your setup as your needs grow. Whether you are building a smart classroom, a corporate training space, or a personal content studio, following this checklist step by step will help you avoid common mistakes and get professional results faster.
If you want expert guidance on choosing the right cameras, digital boards, lighting, and audio equipment for your space, the team at Amica Smart Learn is always ready to help you plan a studio that truly fits your needs.
For More Information
Visit Our Website – Amica Smart Learn